This guide shows you how to deploy Signoz on Excloud
Deploying SigNoz on Excloud
SigNoz is an open-source observability platform that helps you monitor your applications and services. It provides powerful features including:
- Application Performance Monitoring (APM)
- Distributed Tracing
- Metrics Monitoring
- Log Management
- Custom Dashboards
This guide will walk you through deploying SigNoz on Excloud, making it easy to monitor your applications.
Prerequisites
Before you begin, ensure you have:
- An active Excloud account Sign up for free here
- Basic familiarity with Linux commands
- SSH client installed on your local machine
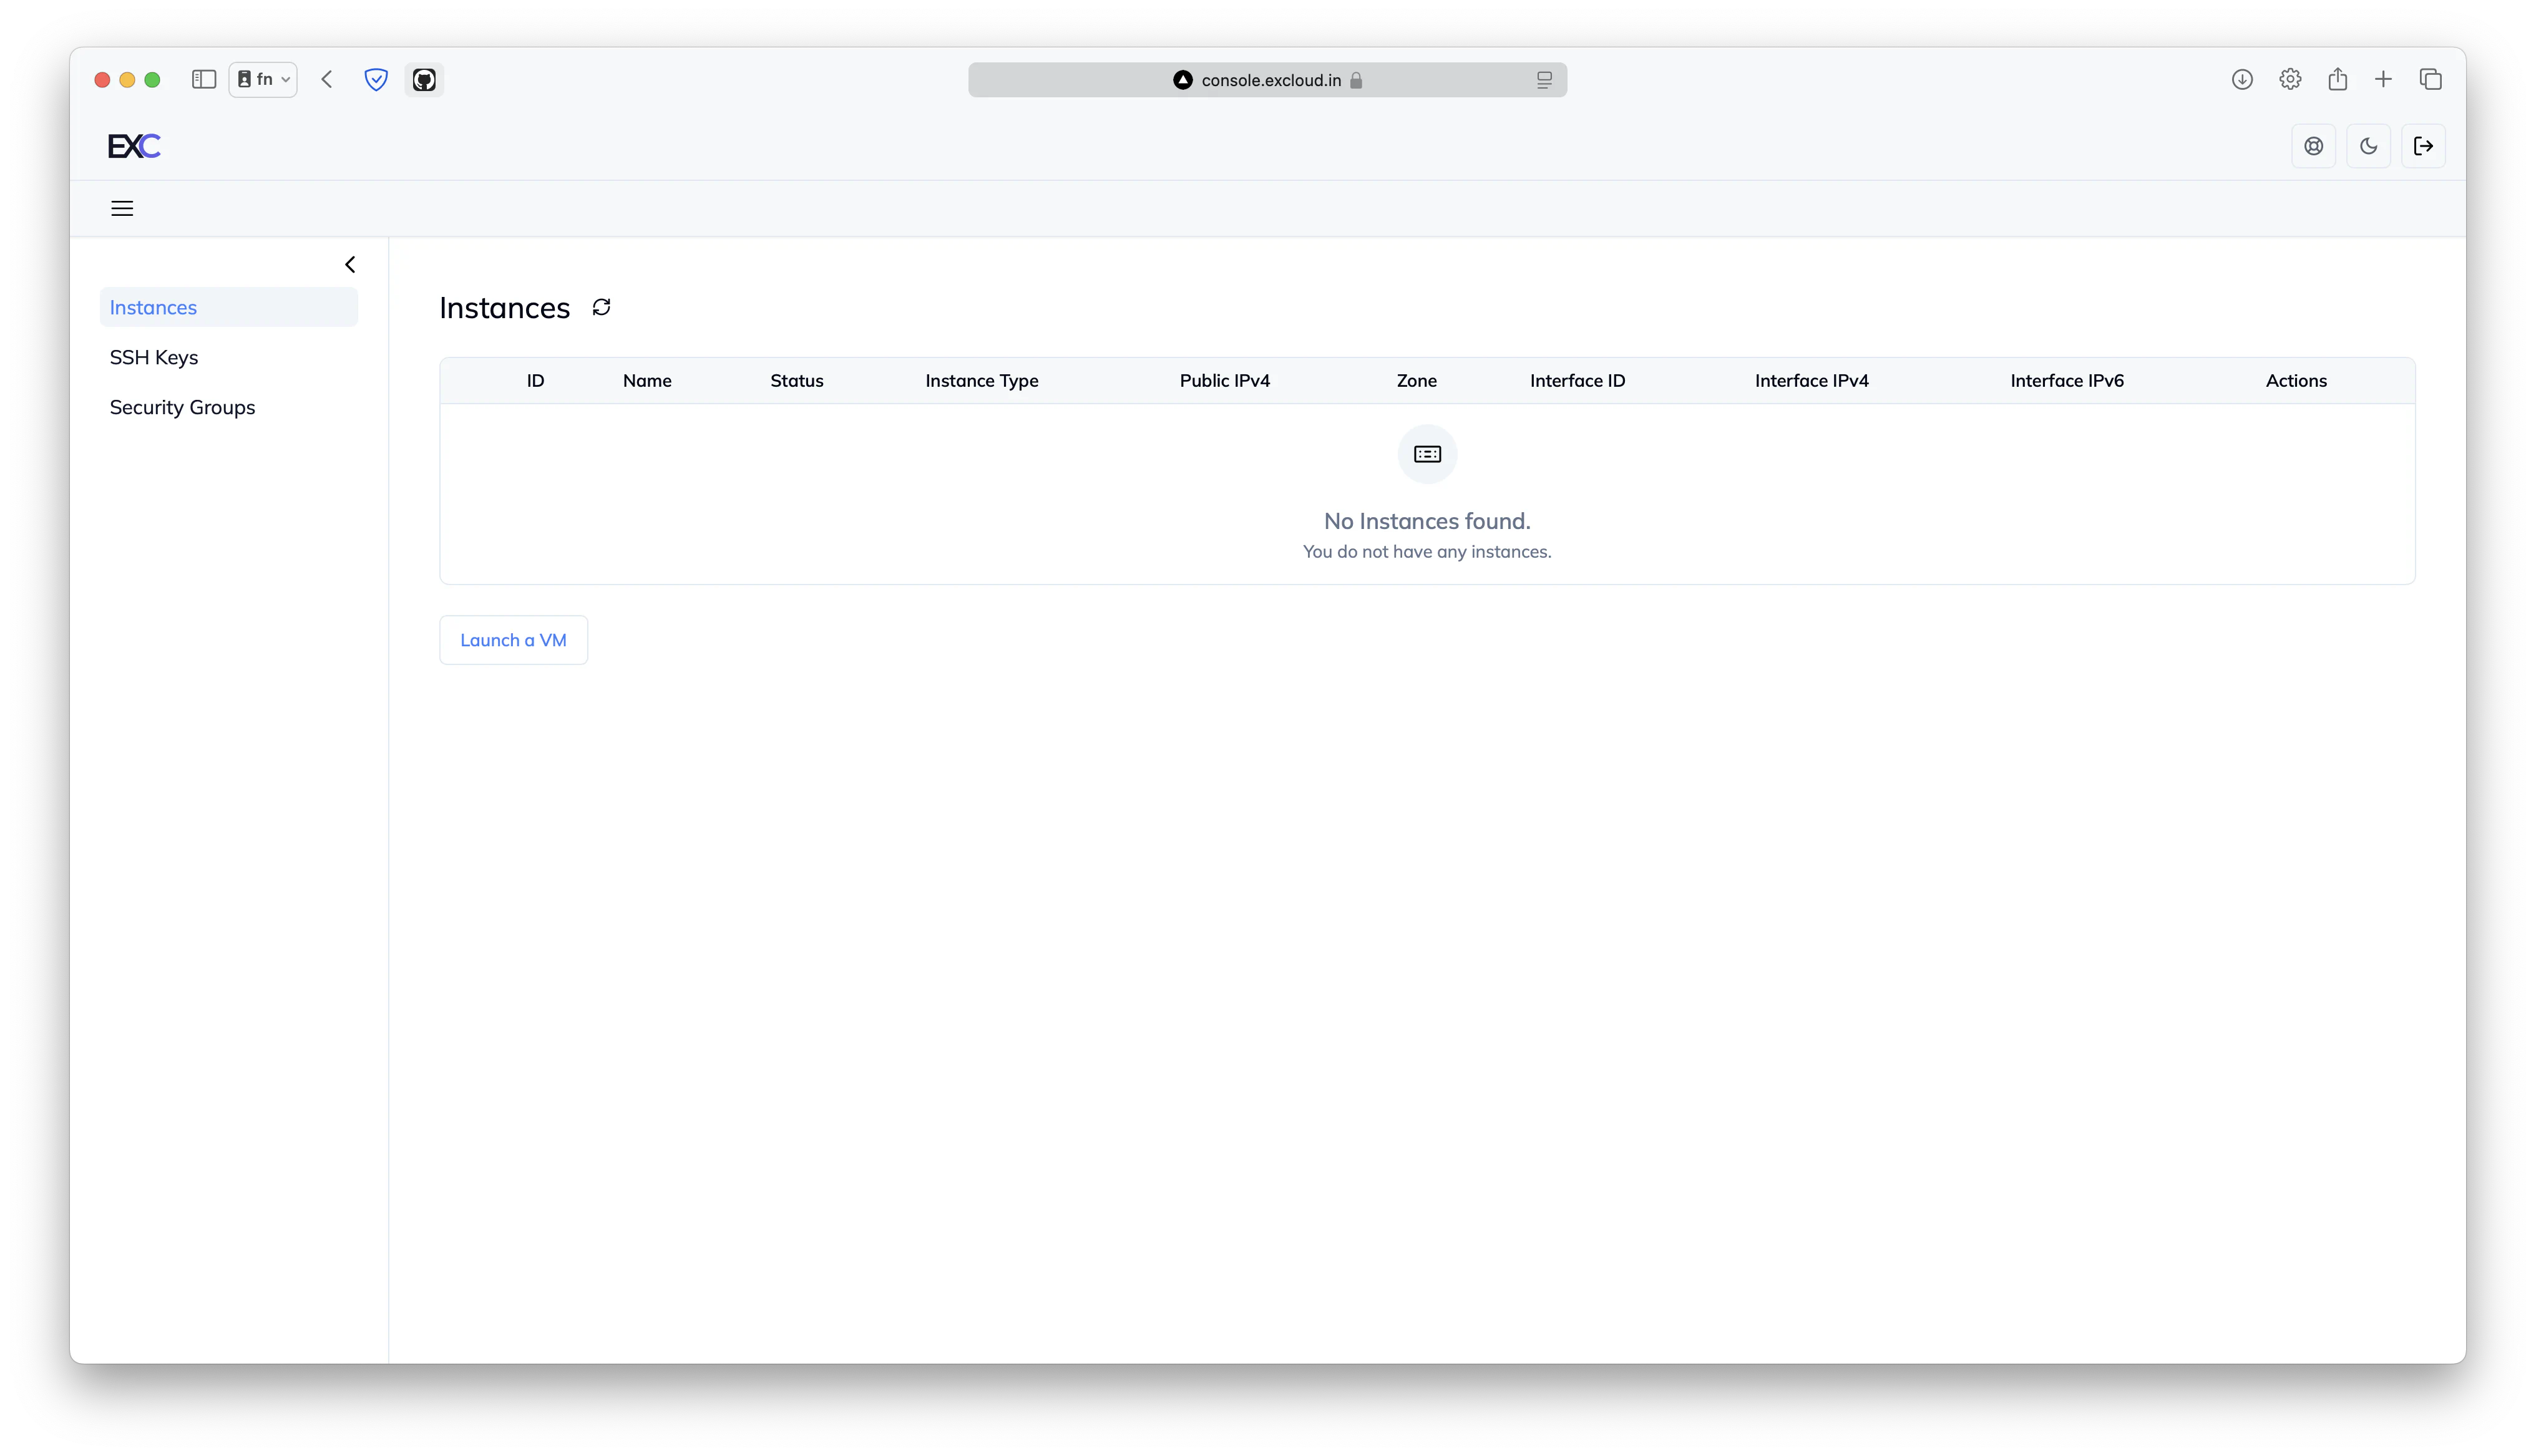
Step 1: Create a New Instance
- Log in to your Excloud Dashboard
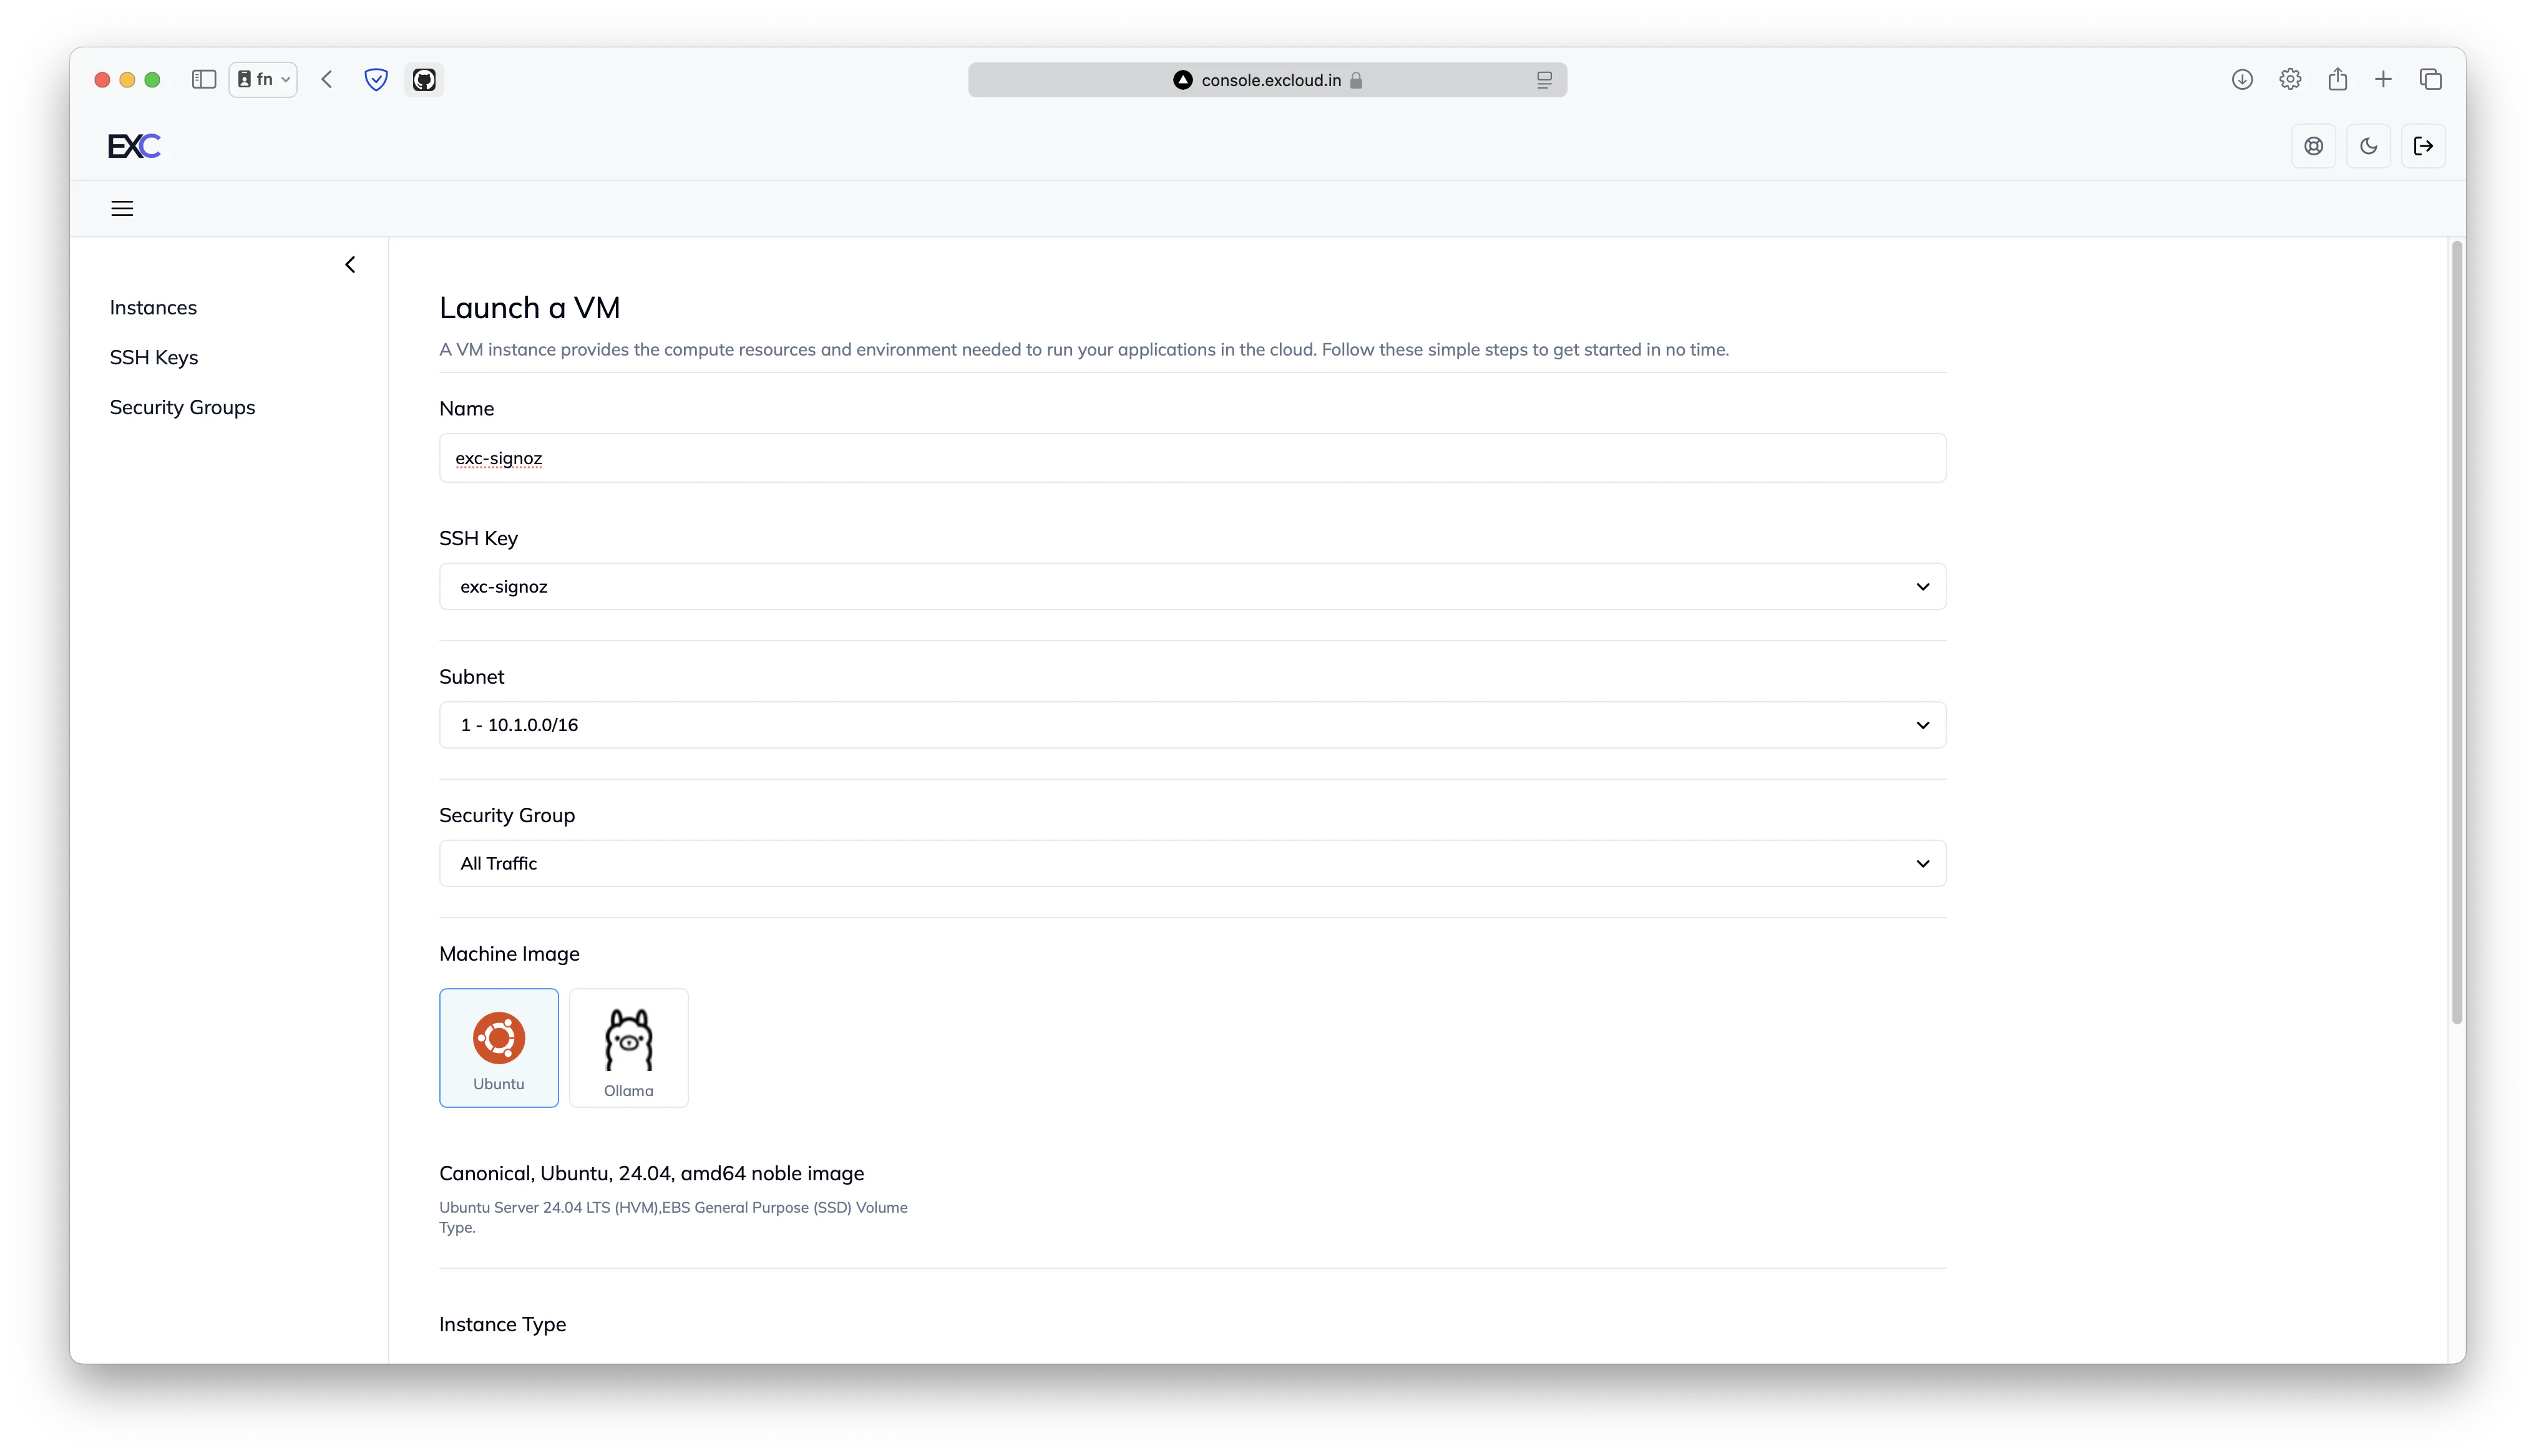
- Click on the “Launch a VM” button
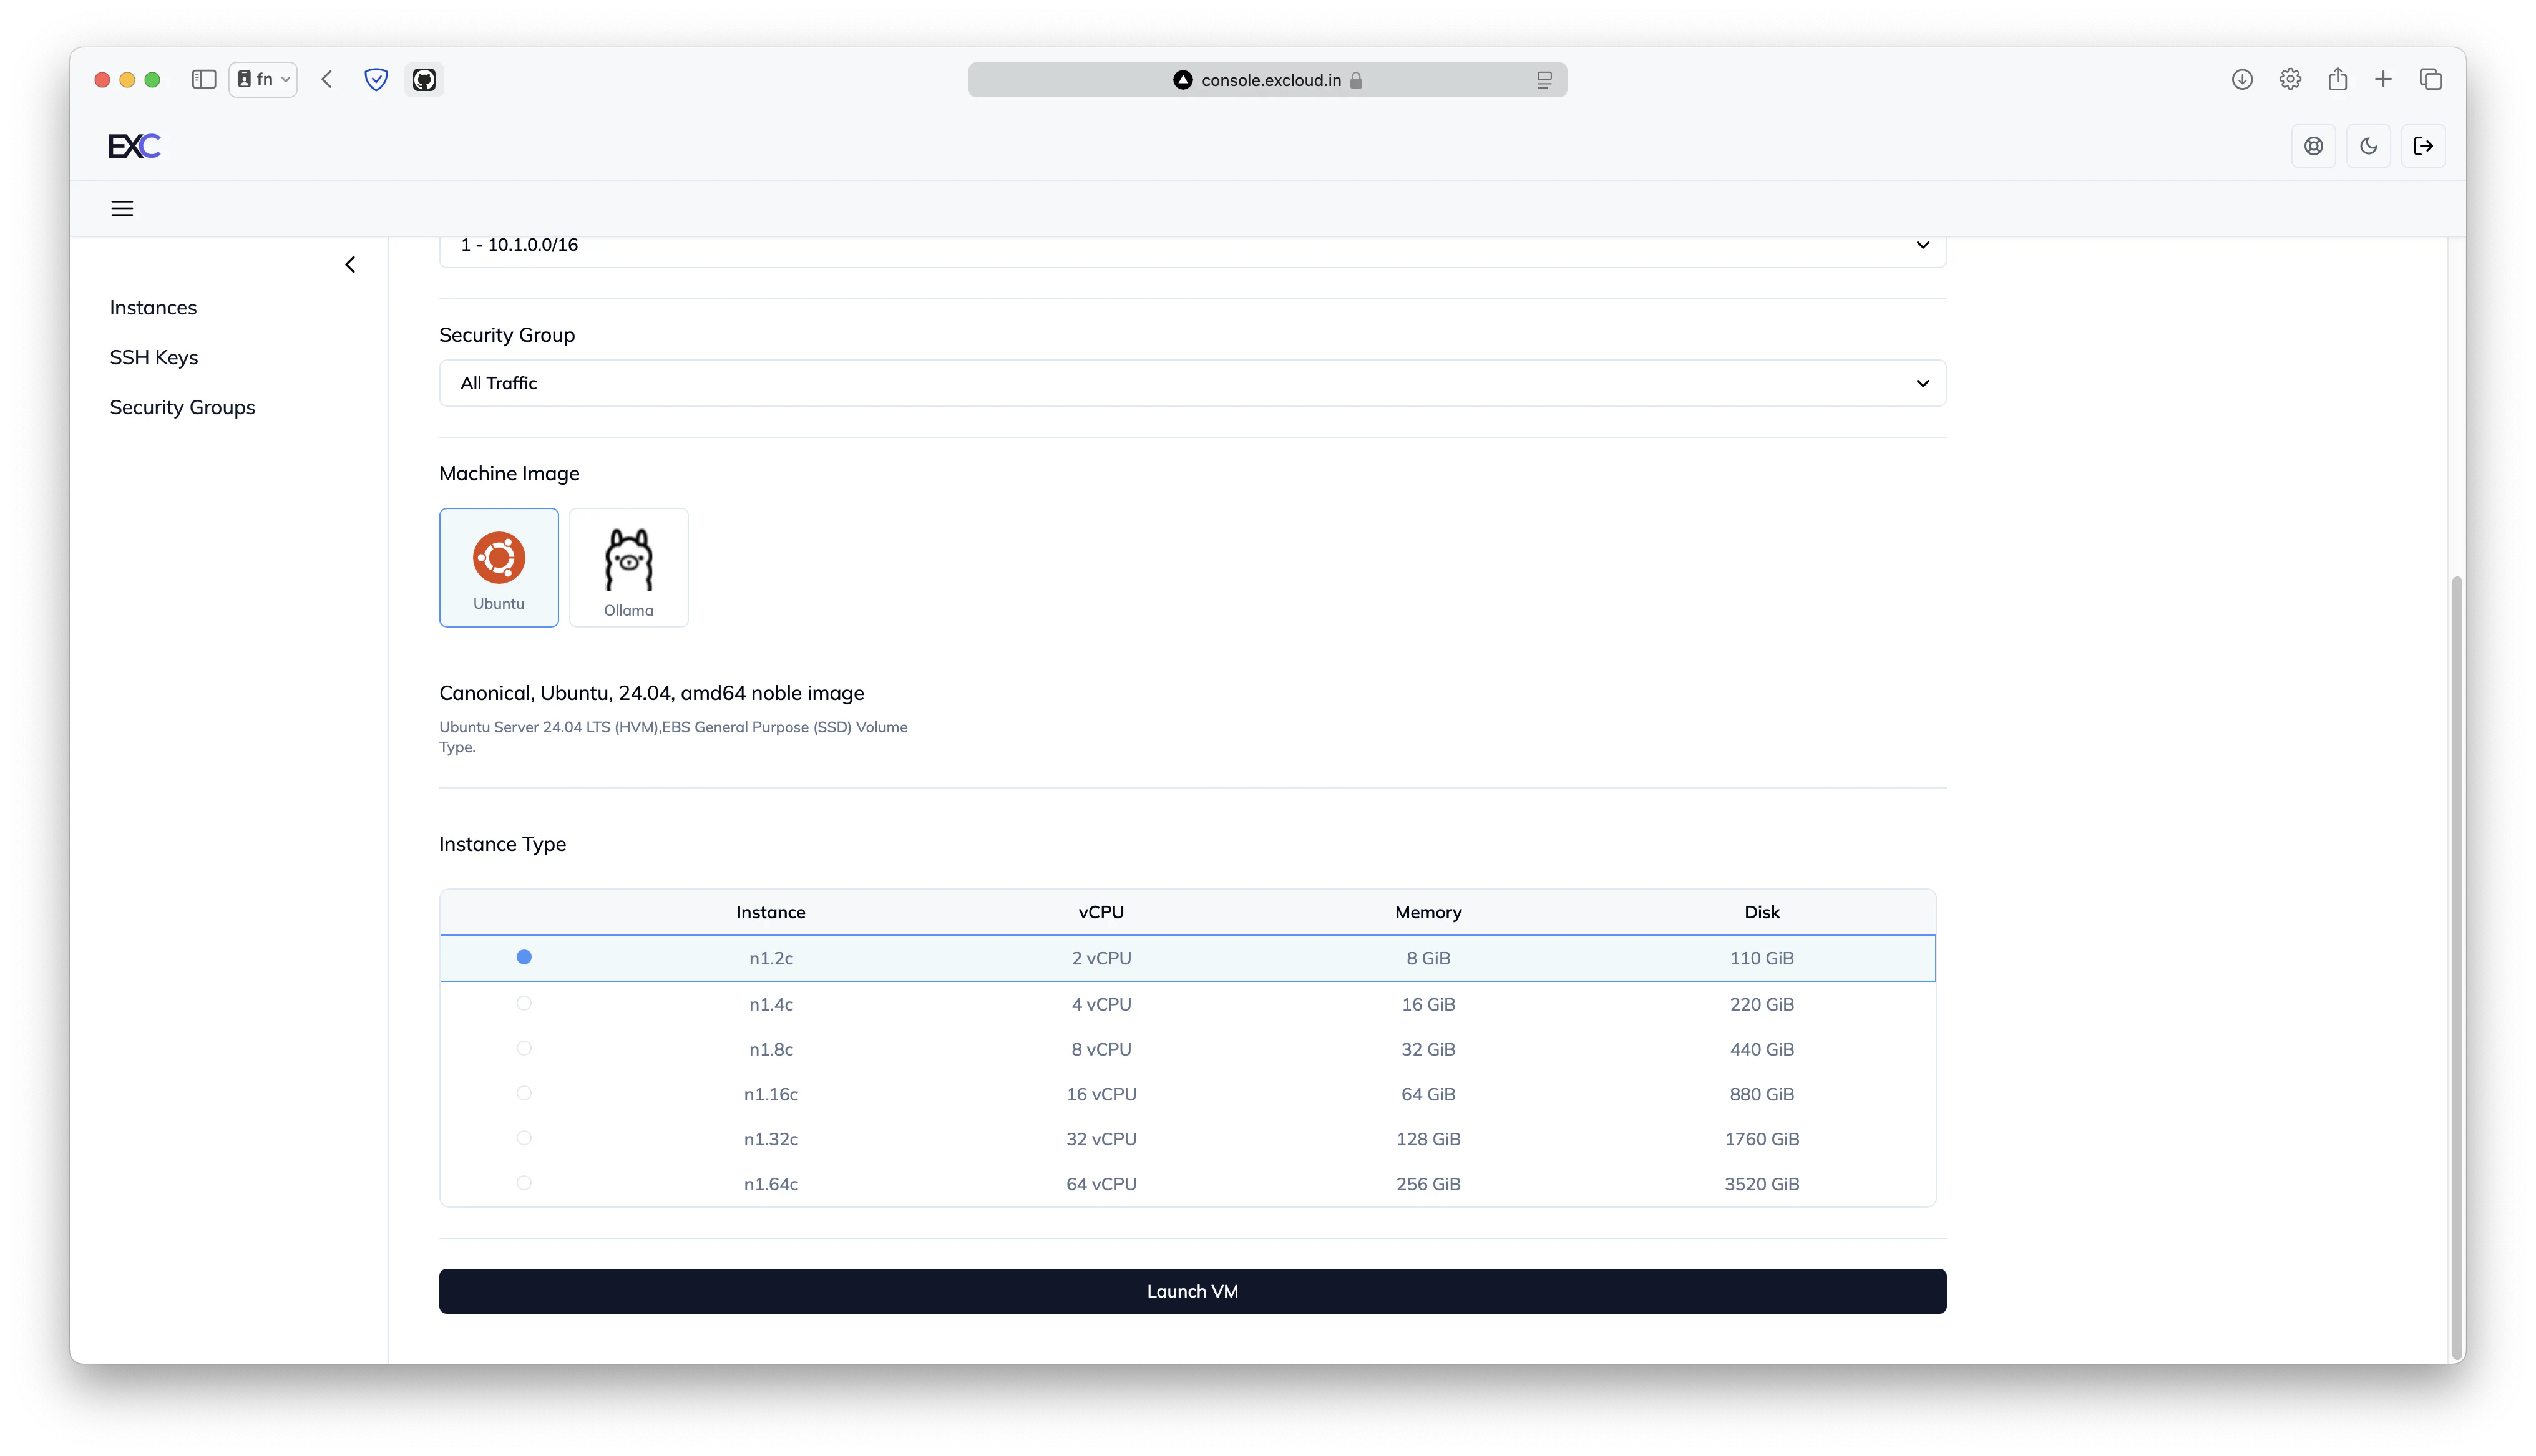
- Configure your instance with these specifications:
- Instance Type: n1.2c (2 vCPU, 8 GB RAM)
- Operating System: Ubuntu (latest LTS version)
- Storage: 110 GB (included by default)
Step 2: Connect to Your Instance
Once your VM is running:
- Connect to your instance:
ssh -i your-key.pem ubuntu@your-instance-ip
Step 3: Install SigNoz
- Update your system packages:
sudo apt update && sudo apt upgrade -y
- Install SigNoz using the official installation script:
git clone -b main https://github.com/SigNoz/signoz.git
cd signoz/deploy/
./install.sh
The installation process may take a few minutes to complete.
Step 4: Access SigNoz Dashboard
- Once installation is complete, open your web browser
- Navigate to:
http://your-instance-ip:3301 - Create your admin account on first login
Security Considerations
Remember to:
- Configure your instance’s security group to allow traffic only on required ports (3301 for UI, 4317 for OTLP)
- Use strong passwords for your SigNoz admin account
- Keep your Ubuntu system and SigNoz updated regularly
Next Steps
After successful installation, you can:
- Configure your applications to send telemetry data to SigNoz
- Set up alerts and notifications
- Create custom dashboards for your metrics
For more information on using SigNoz, visit their official documentation.